


I spent the day with my bf while he was installing his new shocks and he asked me to do a quick write up with the pics that I took. This is by no means the "correct" way to do it but the instructions that came with the new shocks are poopie so figure this might help a bit
")
Tools needed:
Whatever wrenches and sockets that you need to take out your struts...
Allen wrenches
Something to cut, we used a reciprocating saw but you can use a grinder wheel, hack saw, whatever.
A drill with 1/8 and 1/2 drill bit
Center punch
scribe
straight edge
Caliper
something to catch oil
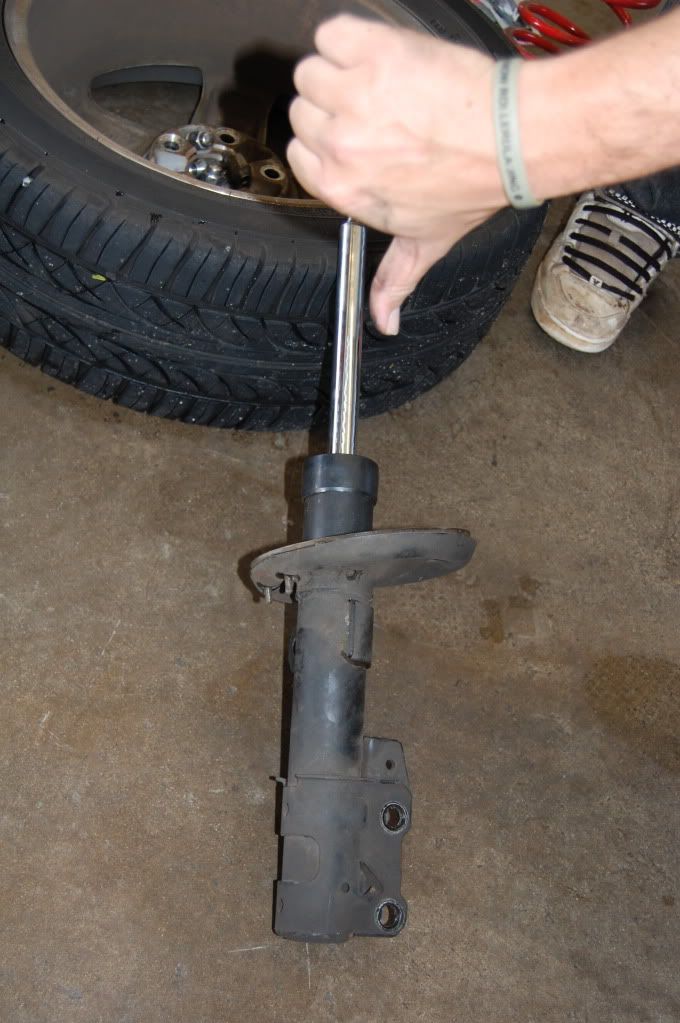
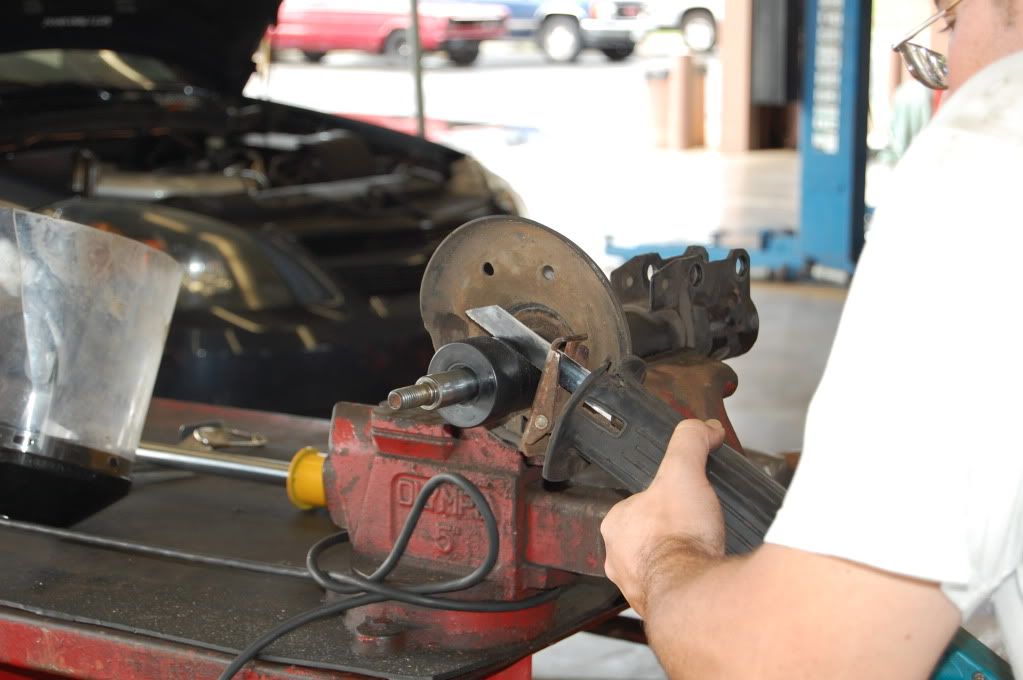
Ok so to start you need to remove your front struts. Theres a couple write ups on here already so we don't need to get into that
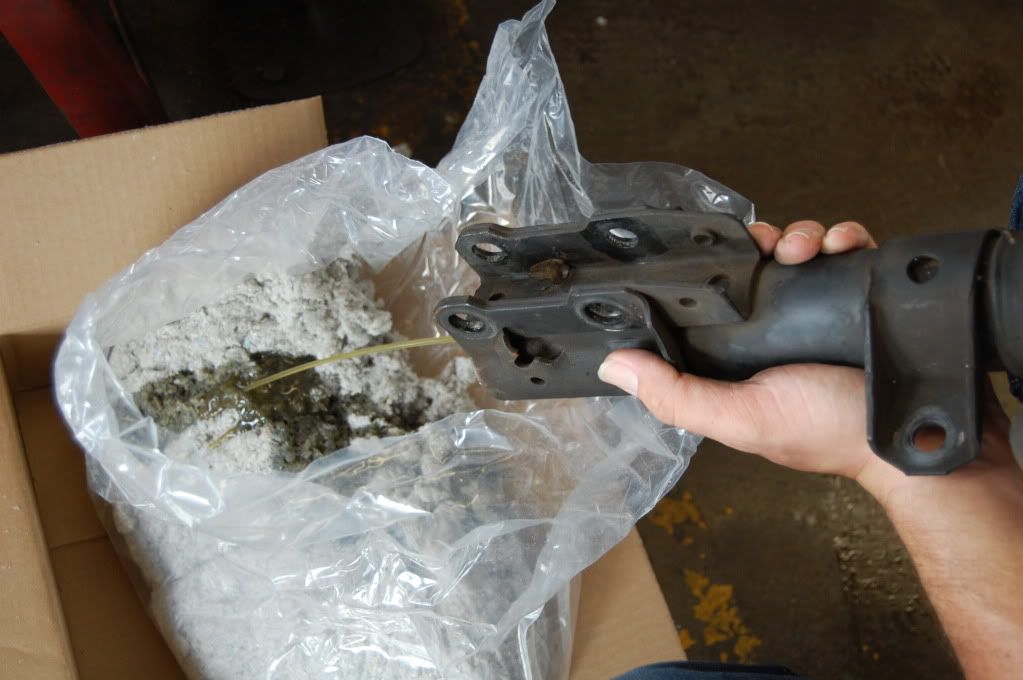
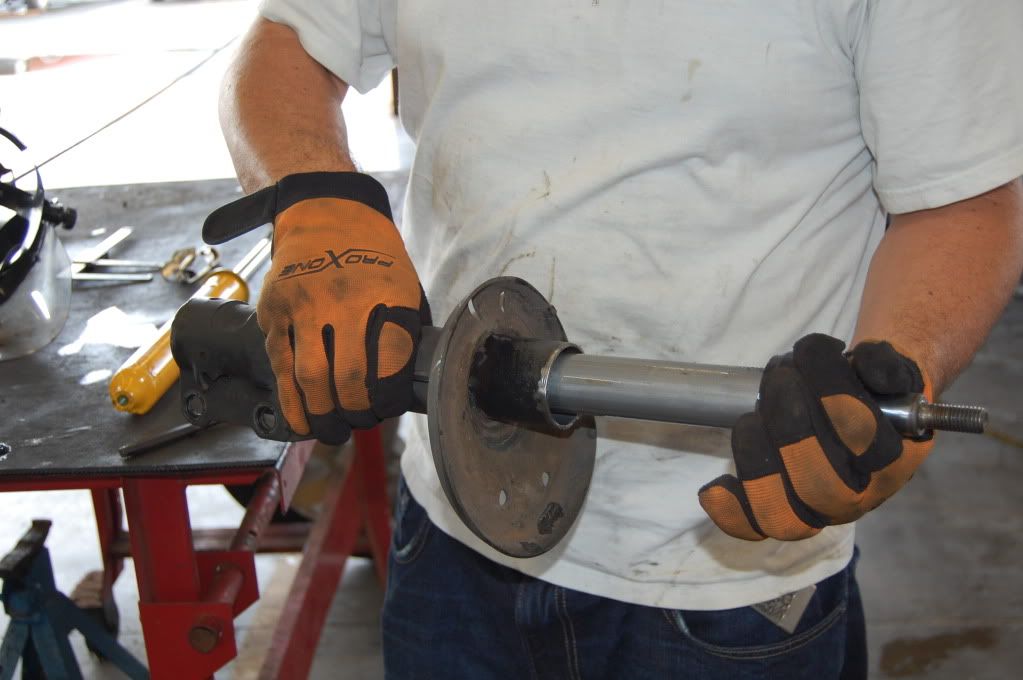
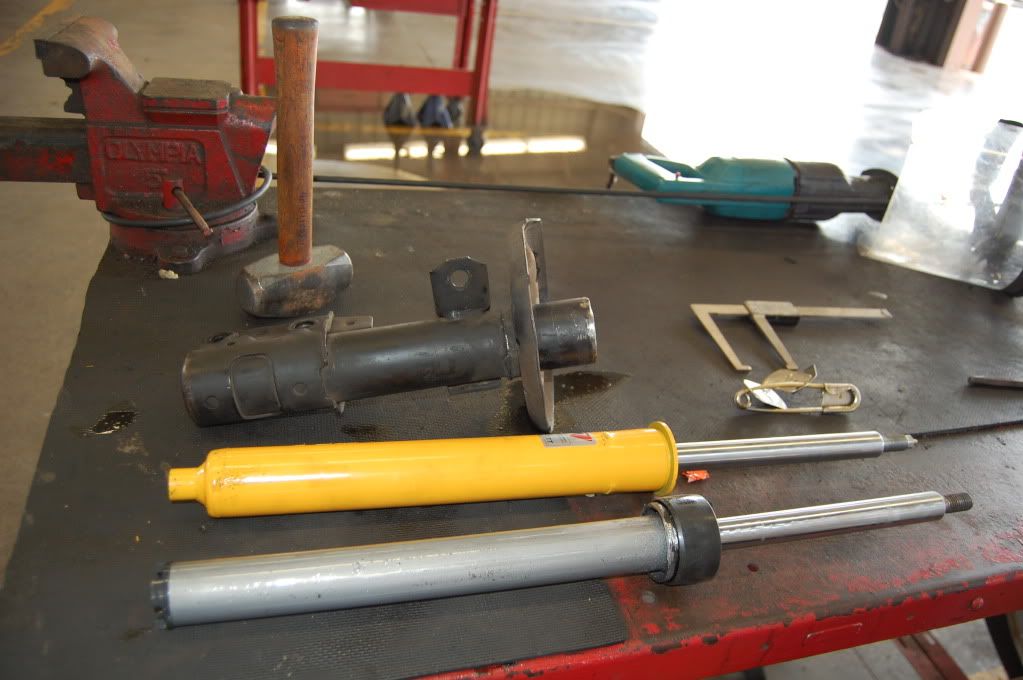
So now your struts are off. You have your old crappy strut, BOOOO!
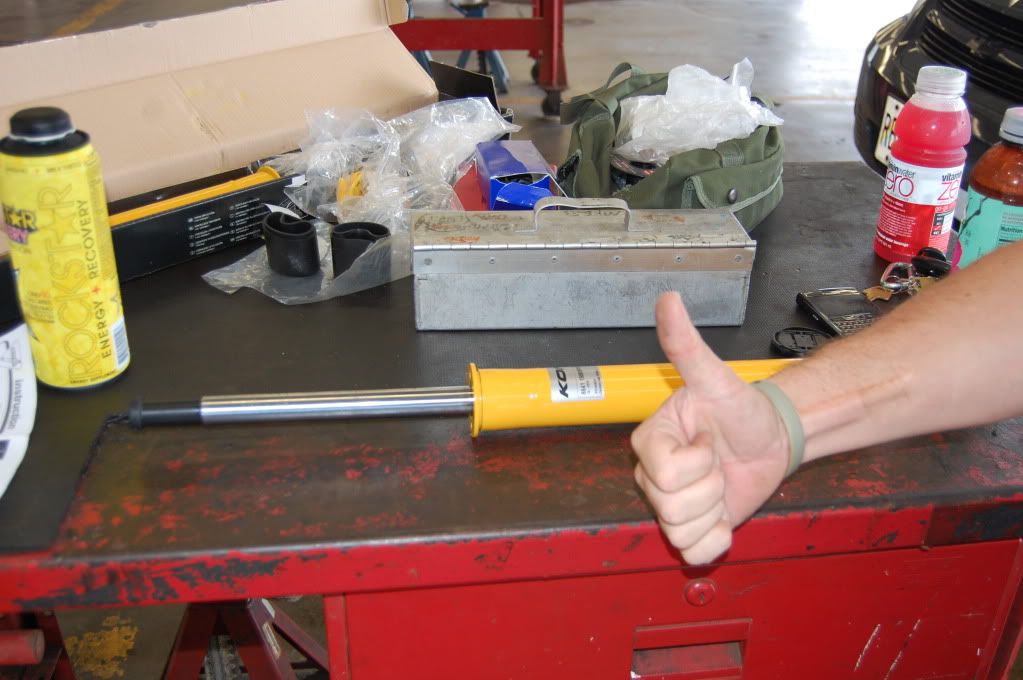
And your new strut, Yay!
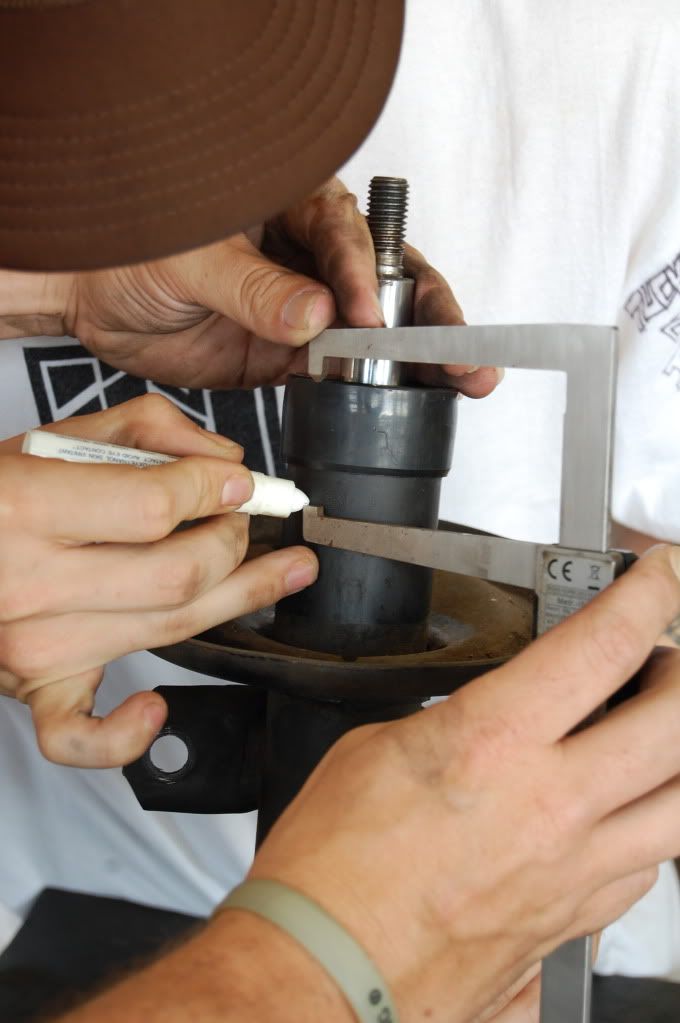
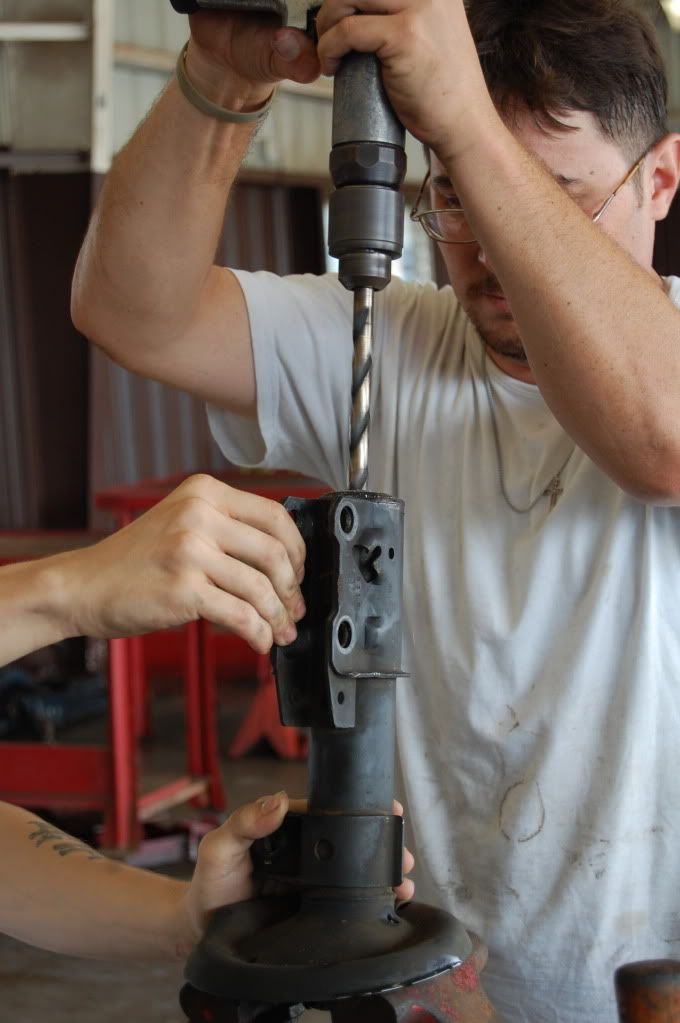
The next step is to prep the bottom of your stock strut for drilling. We used our calipers and a straight edge to find the center, then used the center punch to mark it.
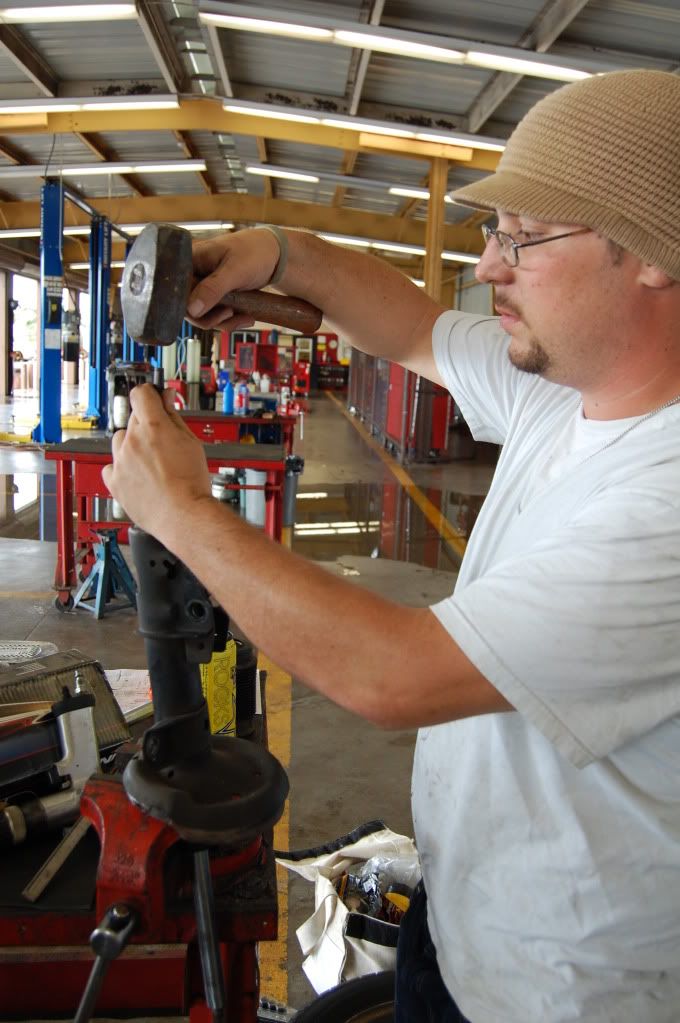
Once you've done this set up your drill with the 1/8 drill bit and drill a hole where you made your punch mark.
Now that you've drilled your hole you can drain all the oil out into whatever container you got to catch it in. We used an oil change box. *squirt!*
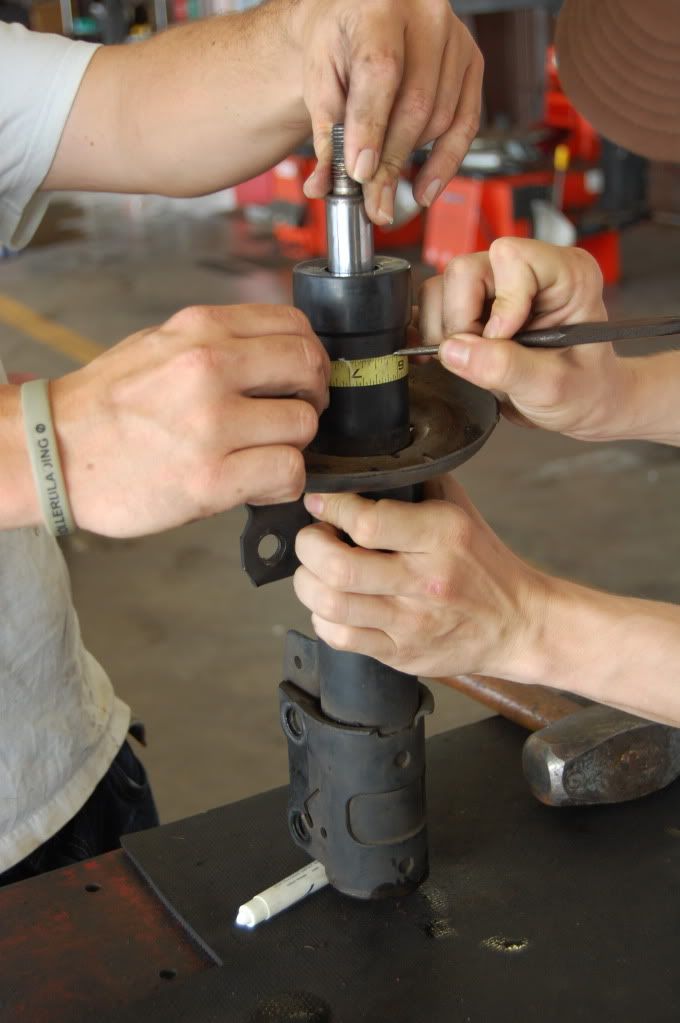
Now you need to start taking your measurements to figure out where you are going to cut your stock struts.
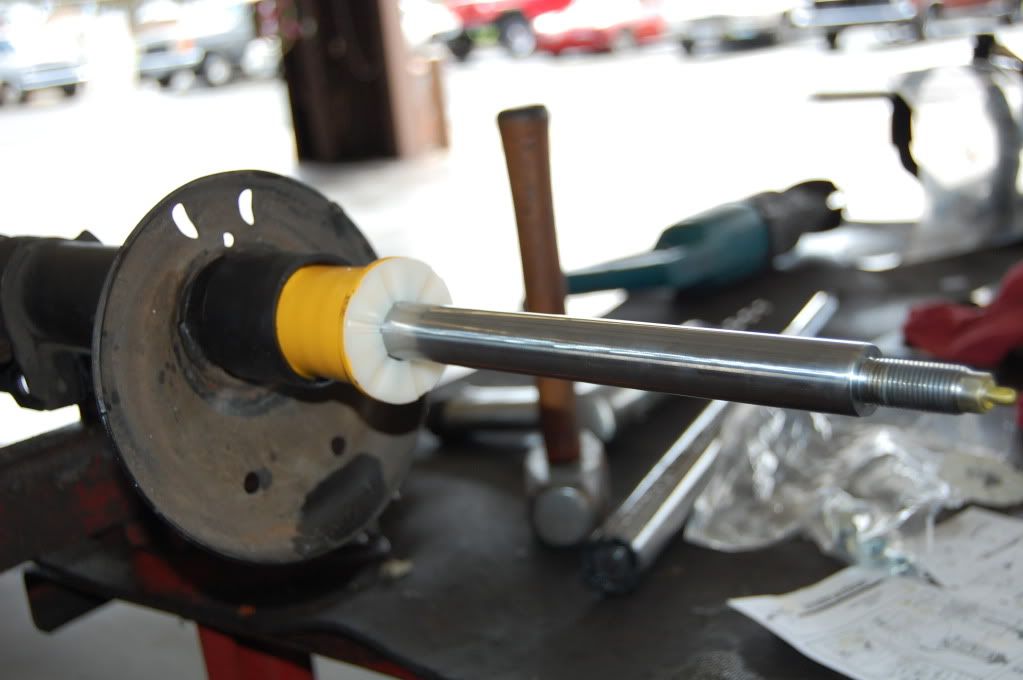
First you need to measure your new koni shock from the top down to the middle of the little bumps a couple inches down from the top. We used the tape measure first for some reason...but you should use calipers...more precise.
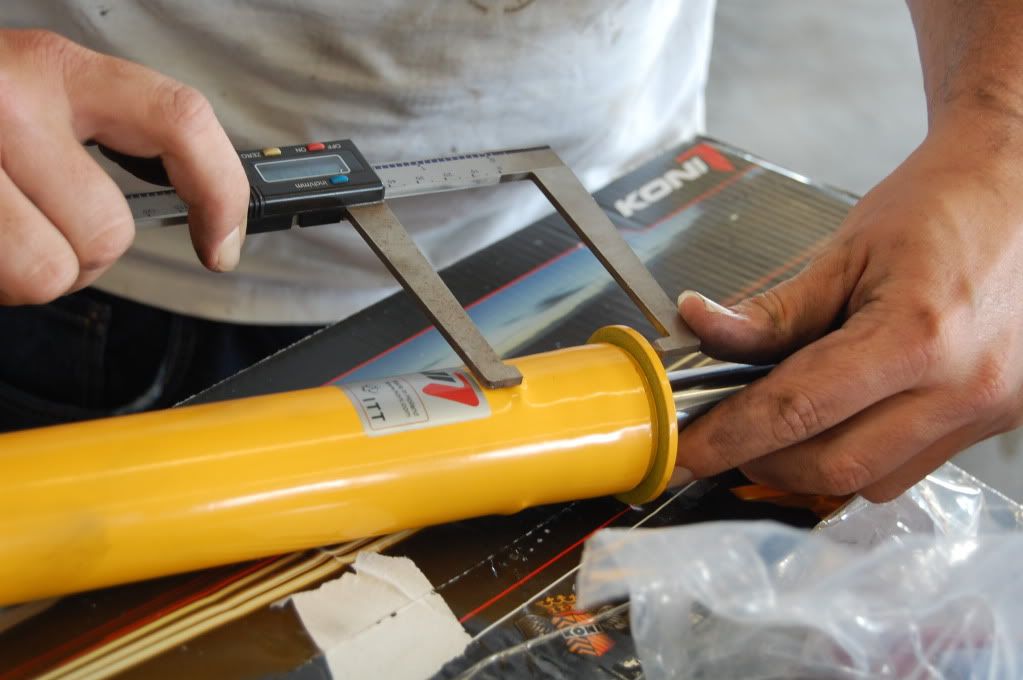
We got 46 mm
Next you take whatever measurement you get and subtract 7 mm from it. So we got 39 mm. That is the number you use to figure out where you will cut your old strut.
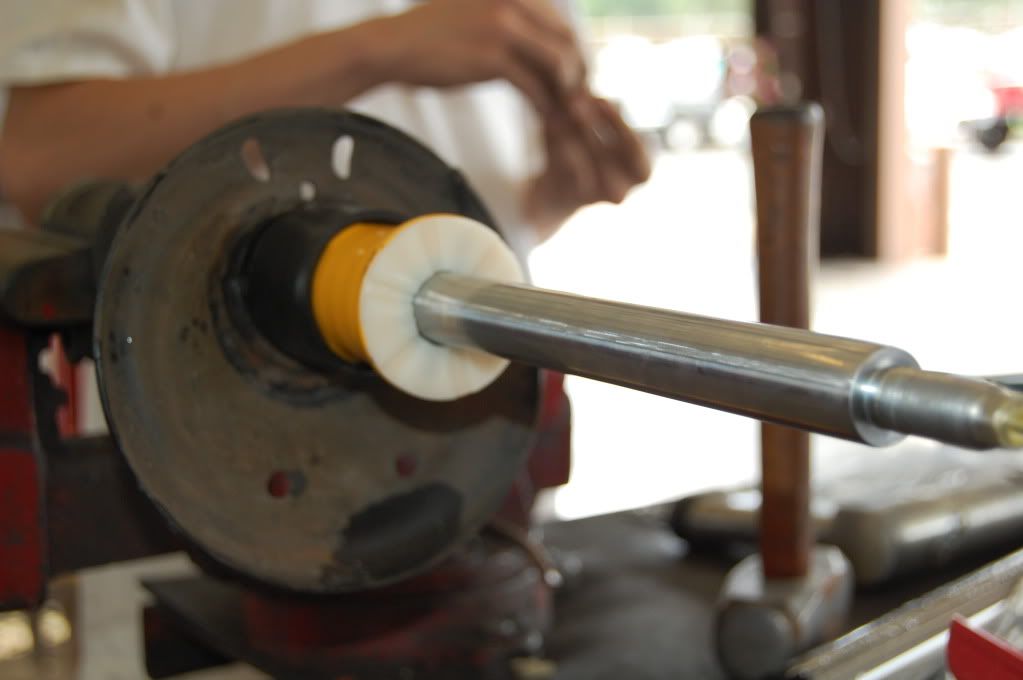
So you measure 39 mm from the top of your old strut and make a mark. Then you scribe a line 360 degrees around and that is the line you will cut along.
Now take your saw or grinder or whatever and cut away!
Once you've cut all the way around you can now pull the shocks internals out.
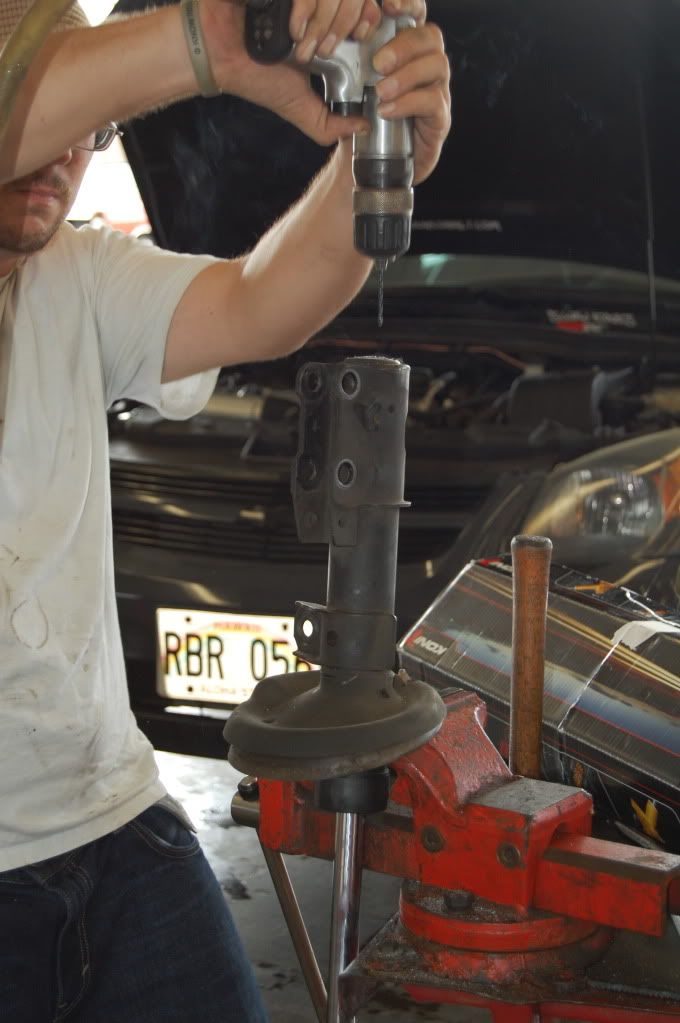
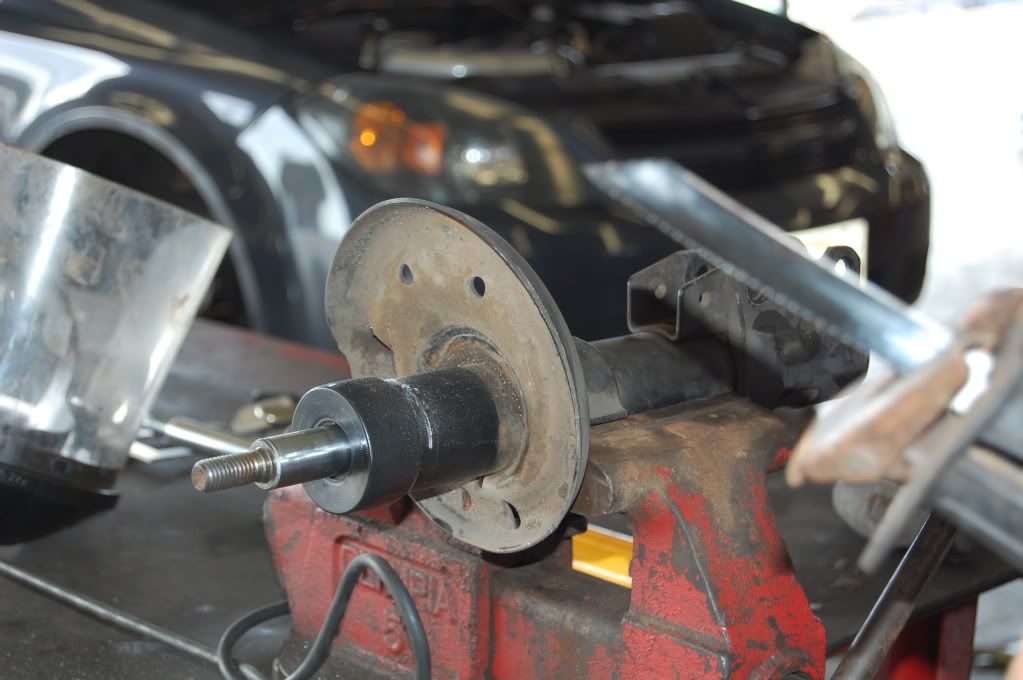
The Last step before you can insert your new shock is to drill the hole on the bottom of your strut to 1/2 inch.
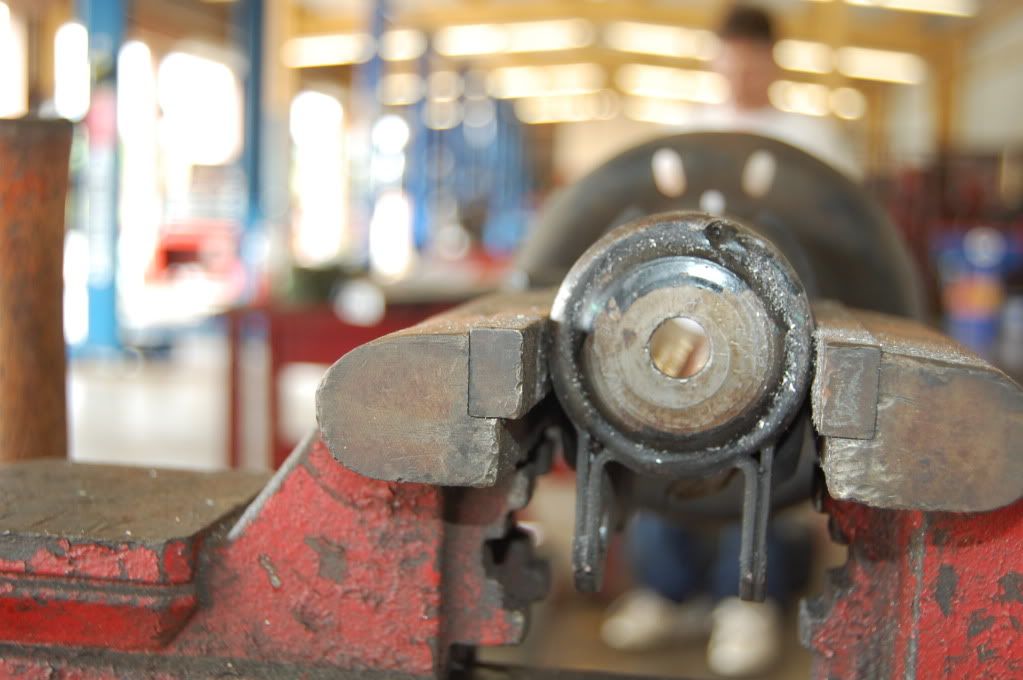
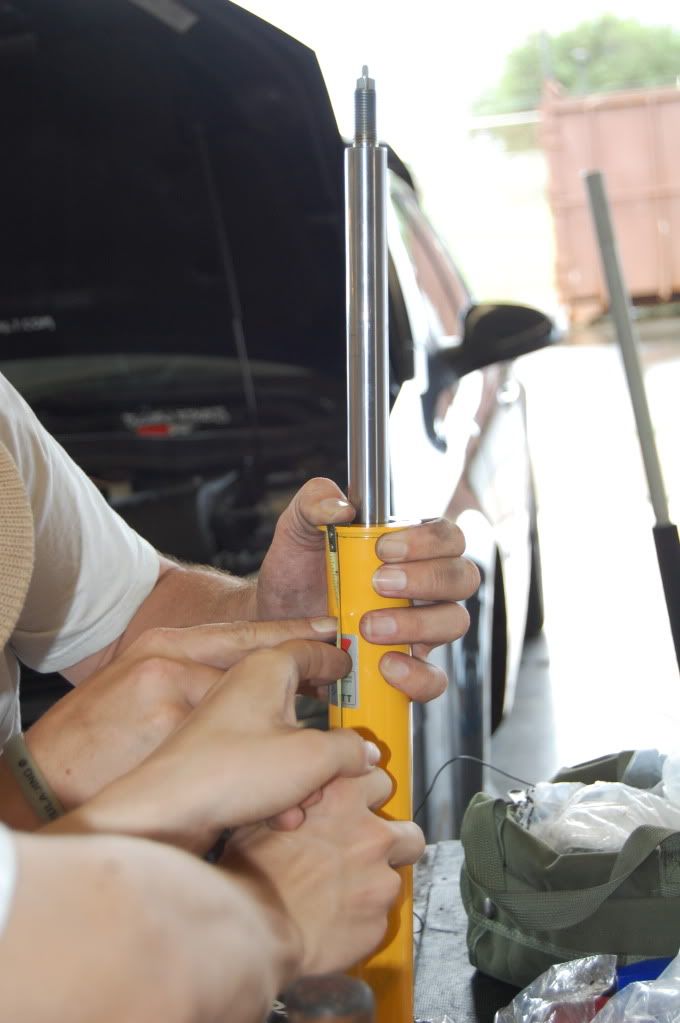
Now you are ready to assemble your strut!
First you place the rubber dust guard around the outside of the old strut with about 1/4 inch left to seal around your new shock and insert the new shock into the housing.
If it doesn't go all the way down don't worry. You'll be able to draw it the rest of the way in in the next step.
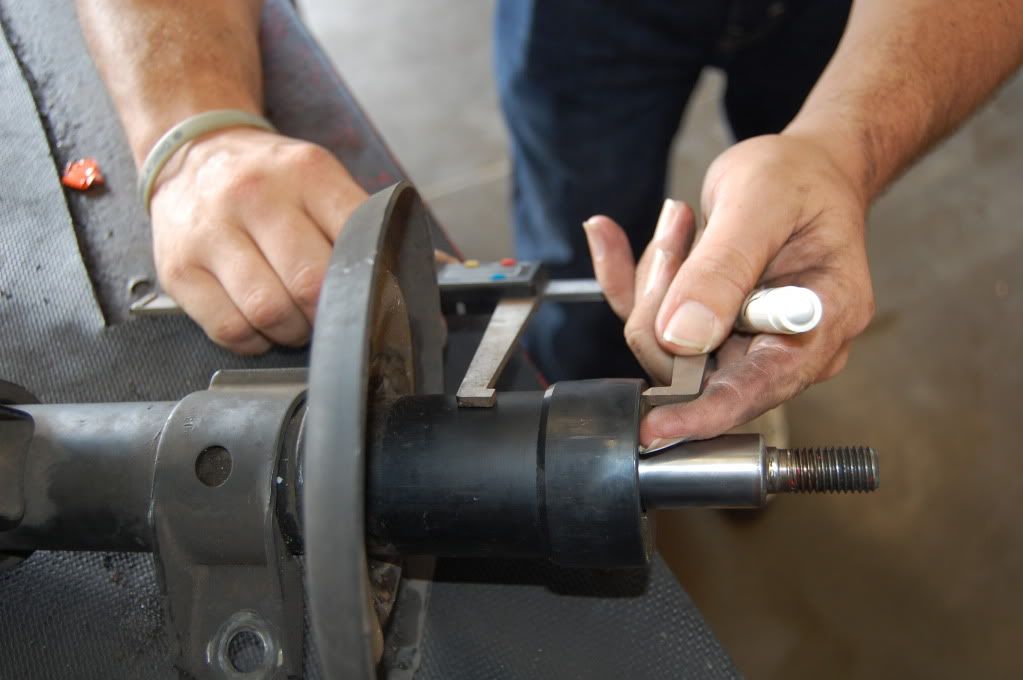
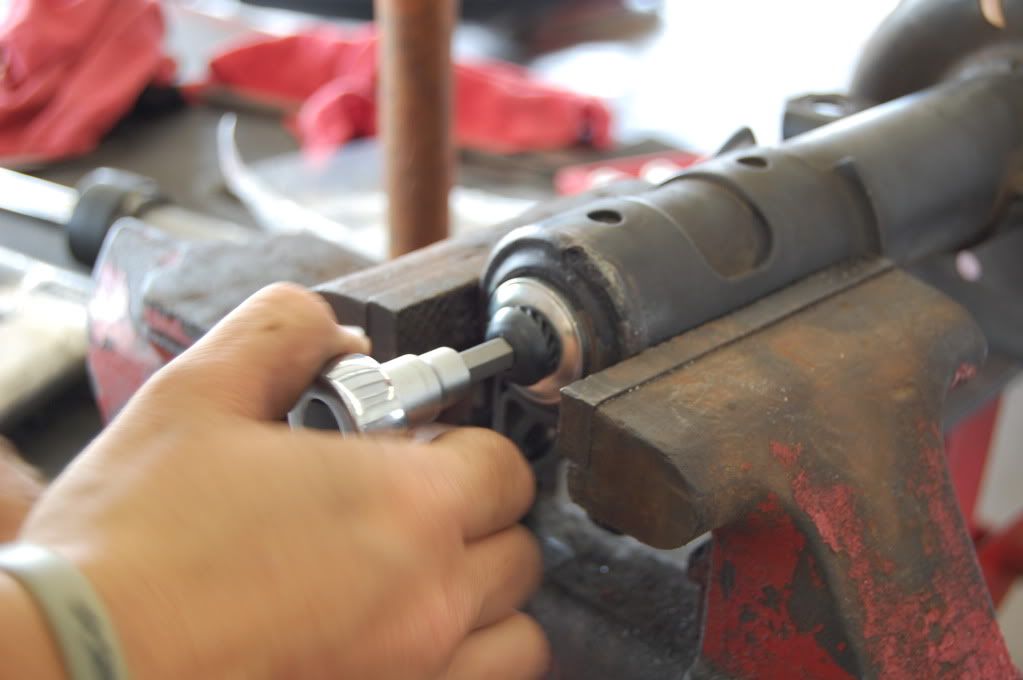
Next you will put the allen head bolt thru the hole on the bottom of the old strut and thread it into the new shock. Using your wrench tighten this bolt down. I have no idea what the torque is on this so....do your best, lol.
And there you have it! Just re-install your strut like you normally would
The torque on the top nut is 55 ft/lbs. Do NOT use an impact gun on the top nut!

